
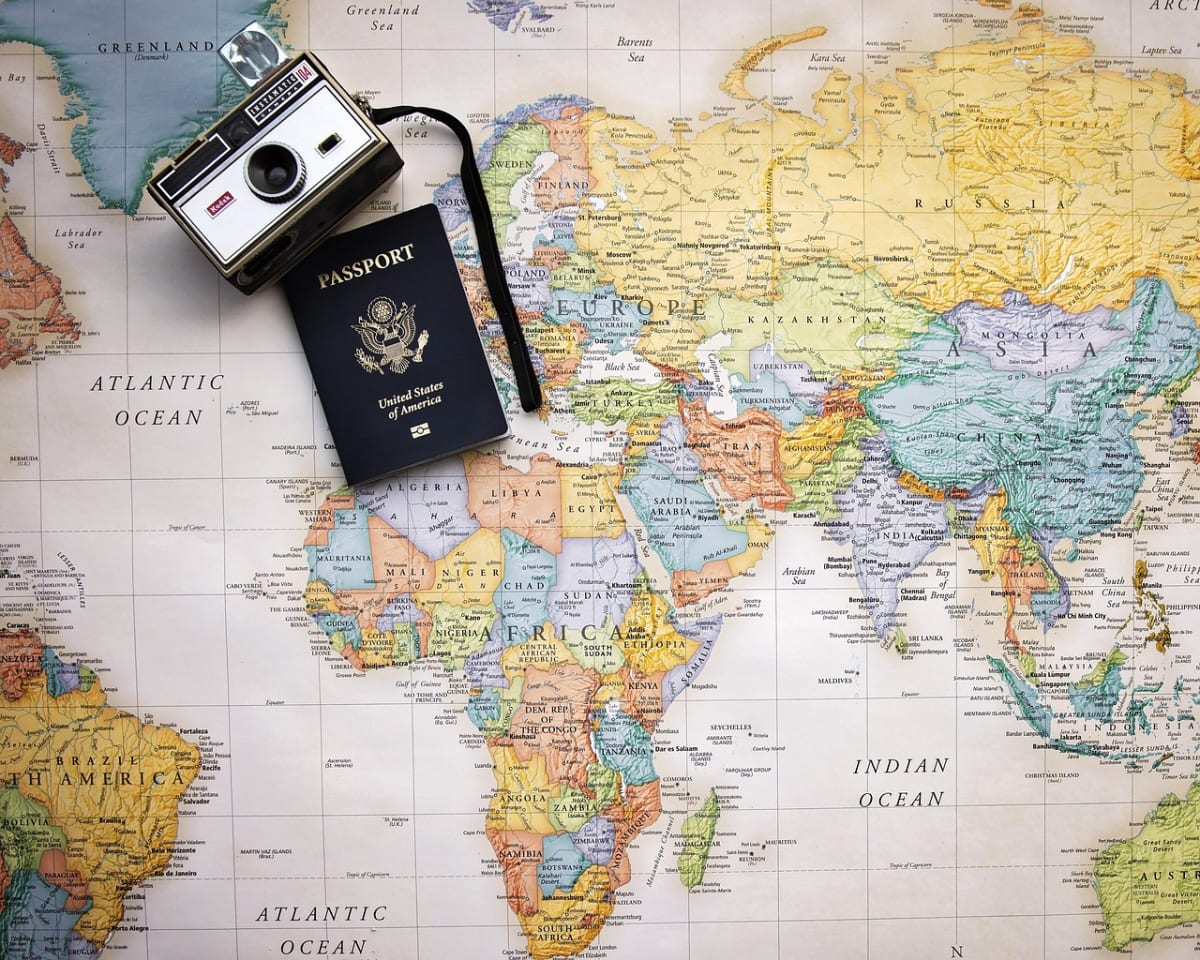
The award email has arrived, and you are celebrating. Then you notice the line that says the offer is conditional on obtaining a visa. From this point, your timeline is controlled by paperwork, and small mistakes can cost you a whole intake.
This guide gives you a general checklist that applies to most study visa applications. It does not give country-specific fees, processing times or rules, because these change often. For those, you must use the official immigration website of your destination country. Where I mention specifics, I send you to where to check.
Step 1: Read the offer for conditions and dates
Before you touch a visa form, read your admission and scholarship letters line by line. Write down every condition and every date.
- Is admission conditional on a final transcript, certificate or English test result?
- Is there a deadline to accept the offer or pay a deposit? Does the scholarship cover that deposit?
- What is the course start date, and is there an earlier orientation or pre-sessional programme?
- Does the scholarship letter state exactly what it covers (tuition, living allowance, flights, insurance)?
Visa officers read these letters too. A scholarship letter that clearly states the funding covered is one of your strongest documents.
Step 2: Find the official visa route and its checklist
Go to the government immigration site of the country where you will study, not a blog, agent or social media page. Search for "student visa" and find three things: the exact visa name, the document list and the application process (online, through a visa centre, or via an embassy).
Then check whether you need to attend biometrics in person. In Nigeria, many applicants have to travel to a different city for this, so plan for transport and a night's stay. Readers in Ghana, Kenya and South Africa should check the same thing for their own country, because the nearest centre differs.
Step 3: Build your document pack
Most student visas ask for a similar core set. Treat this as a starting list and replace it with the official one.
- Passport. Check validity against the length of your course. Many countries expect it to stay valid beyond your stay. If it is close to expiry, renew first. Our guide to getting a Nigerian international passport may not be the right link for your situation, so use the Nigeria Immigration Service site for the current process.
- Admission letter (unconditional, or with conditions met).
- Scholarship award letter from the funder.
- Academic documents: degree certificate, transcripts, and any evaluation the country requires.
- English test result, if required and not waived by your university.
- Proof of funds, which for a full scholarship may be the award letter itself, and for a partial one will include your own money. See our guide to proof of funds the legal way.
- Passport photographs to the exact specification.
- Health items such as a tuberculosis test or medical exam, if your destination asks for them, done only at approved clinics.
- Police clearance, if asked.
- Accommodation details, if asked.
Step 4: Handle Nigerian-side documents early
Some items take weeks, and you cannot rush them. Start these as soon as you have the offer:
- Transcripts: Universities can be slow. Request them with proper follow-up, and ask how many certified copies or sealed envelopes you can get.
- Police clearance or similar: Check which authority issues it and how long it takes.
- Bank statements: Only if needed, and only your genuine ones. Never alter, borrow or "season" an account with a temporary deposit. Visa officers check, and a refusal for false documents can follow you for years.
- Name consistency: Your name must match across passport, certificate, NIN-linked records and admission documents. If it differs, fix it or prepare an official explanation, such as a gazette or affidavit, before applying.
Step 5: Pay only through official channels
Pay visa fees and any health surcharge only on the official government or visa-centre site. Check the address carefully. Scammers copy these sites. If someone sends you a payment link by WhatsApp, stop. Read our piece on fake scholarship agents and paid-for-award scams.
Keep every receipt and reference number in one folder, both on paper and in cloud storage. Nigerian power and phone problems are real, so back up before the appointment.
Step 6: Prepare for the visa interview or credibility check
Some countries interview students; others rely mostly on documents. Either way, be ready to explain, in simple words:
- Why this course, and why this university?
- How does it connect to your previous study or work?
- Who is paying, and what exactly does the scholarship cover?
- What do you plan to do after the course?
Answer honestly and briefly. Do not memorise a script from the internet, because officers notice. Know your own application well enough to speak about it naturally. If your interview is on video, our guide to preparing for a video interview with bad power applies here too.
A worked example (hypothetical)
Imagine Ada, a Lagos graduate, receives an award with a course start in September. She works backwards from that date:
| Task | Target |
|---|---|
| Read offers, list conditions | Day 1 to 3 |
| Check passport validity, renew if needed | Week 1 |
| Request transcripts and other records | Week 1 to 2 |
| Confirm accommodation or deposit rules | Week 3 |
| Complete visa form, pay fees, book biometrics | Week 4 |
| Submit and wait | As per official processing time, plus a buffer |
| Book flights only after the visa decision | After approval |
The key detail is the buffer. Ada checks the official processing time and then adds extra weeks for delays, instead of assuming the best case.
Common mistakes to avoid
- Applying too late. Many countries let you apply only within a set window before the course start. Check it, then apply at the earliest allowed date.
- Booking non-refundable flights early. Wait for the visa.
- Using an agent without checking. Only use advisers who are licensed in the destination country, and never pay anyone for a "guaranteed" visa.
- Ignoring the work rules. Student visas usually limit working hours. Read the official limit and do not plan finances around illegal work.
- Not telling the funder. If a visa is delayed or refused, contact the scholarship office immediately. Many have procedures for deferral.
- Inconsistent details. A date or name that differs between forms can trigger delays.
If the visa is refused
Read the refusal letter carefully. It normally gives the reason and says whether you can appeal or reapply. Do not reapply immediately with the same documents. Fix the specific issue, whether it is missing evidence or an unclear plan, and then contact your university and funder about deferring.
Frequently asked questions
Does a full scholarship guarantee a visa?
No. It strengthens your funding evidence, but the immigration authority makes its own decision.
Can I bring my spouse or children?
It depends on the visa route and sometimes on your course level. Check the official dependants rules before accepting, and ask the scholarship about any dependant support.
Do I need travel insurance or health cover?
Some countries include health cover in the visa process, and some universities require their own. Check both the immigration site and your university.
Can a university advise me on visas?
Yes. Most international offices have visa teams and give free guidance to admitted students. Use them first.
Your next step
Today, open the immigration website for your destination, copy its document list into a notes file, and mark each item as done, in progress or not started. The "not started" items with the longest wait times are where you begin tomorrow.
Scholarship details, deadlines and eligibility can change. Always confirm on the official website before applying, and never pay anyone who promises to "guarantee" a scholarship.